

What each family is for
Essentials — Blur, Pixelate, Bloom. Hide something, pull focus onto something else, or make bright areas glow. Retro and glitch — Tape Damage, Film Artifacts, Scanlines, CRT Curvature, Channel Separation, Digital Glitch, Chroma Softening. Make footage look like old tape, old film, an old monitor, or a broken signal. The damage is built to behave like the real thing — tracking wobble, color bleed and tearing — not random colored noise. Print — Halftone, Two-Ink Print, Ordered Dither, Mono Screen. Turn the picture into printed dots or a two-color poster. Art — ASCII, Engraving, Crosshatch, Kuwahara Paint. Redraw the picture as text characters, engraved lines, hatching or paint. ASCII alone has eight styles, not one switch.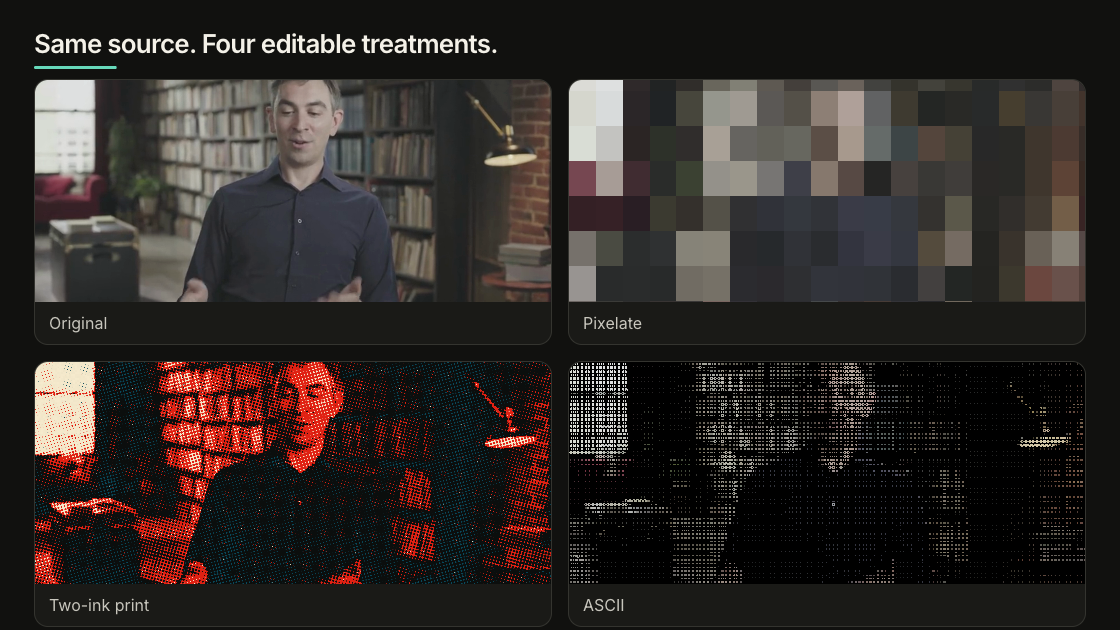
One source, four finishes: original, pixelated, two-ink print, and ASCII.
Try one in Studio
Select an image or video, then open Effects in the Inspector. Pick one effect, adjust it, and play the clip all the way through — some effects only look wrong once things move. An effect covers the whole media layer. It does not follow a face, a screen or an object. If only part of the frame should change, crop or mask that part into its own layer first. Blur, Bloom and Kuwahara Paint are the expensive ones. Several of them stacked across large layers will slow down both preview and rendering.Or just ask the agent
Describe what you want it to look like. You do not need to know the control names:--dry-run to see the change without writing it, --analyze to measure the
source first, or --clear to take an effect off. This writes the same
data-color-grading data that Studio reads, so the two never disagree.